How to Install Bootstrap Documentation Locally on Ubuntu 18.04
Running Bootstrap Documentation Locally:
To install bootstrap documentation locally at first we need the bootstrap Source Files. Download Source from https://getbootstrap.com/docs/4.1/getting-started/download/. Make sure this is the source - not the compiled files. After downloading extract the source file somewhere suitable. Extracted folder name should be something like "bootstrap-4.1.3"
Open terminal and cd into the extracted "bootstrap-4.1.x" folder.
I am assuming that Nodejs and npm are installed in your machine. If not, you need to install Nodejs.
From inside the extracted folder run "npm install" command (without quote) to install local dependencies listed in package.json file. Ignore all the warnings.
Next, install Ruby. Run the command "sudo apt install ruby-full" in your terminal.
Install bundler using the command "gem install bundler". If Error occurs follow the next steps.
Change the ownership of the directory /var/lib/gems - "sudo chown -R $USER:$USER /var/lib/gems".
Try installing bundler again - "sudo gem install bundler".
Now give the command "bundle install" to install all Ruby dependencies, such as Jekyll and plugins.
Run the command "npm run dist" to compile everything.
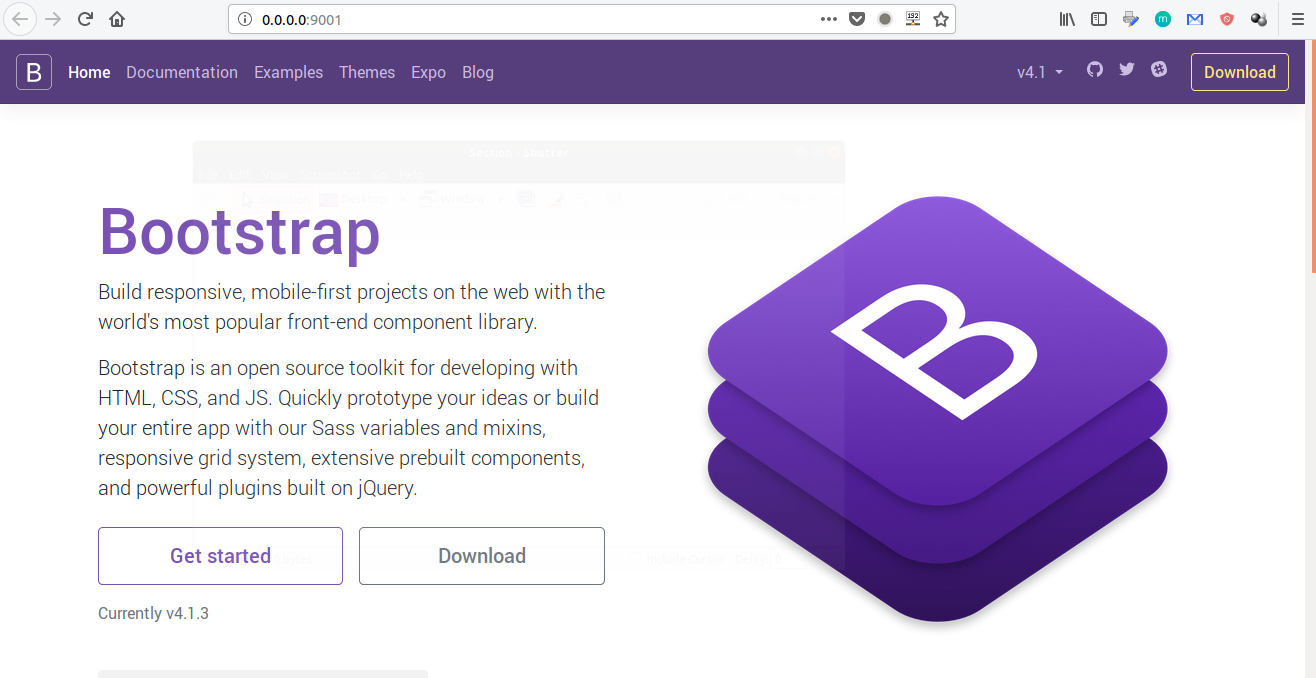
Finally, serve the documentation using the command "npm run docs-serve". Pressing the control key and clicking on the link will open the documentation on the browser. Control + C will stop the server.
After this, every time you need to serve the documentation locally just cd into the extracted folder and run the command "npm run docs-serve". That's all.
Comments
Post a Comment