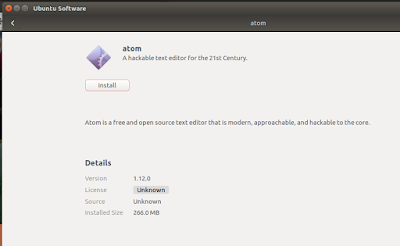
In Ubuntu 17.04 Ubuntu Software Center is broken. It fails to install third party softwares from directly. Double clicking a .deb file in you file manager (Nautilus) usually opens it on Software Center. But, after that clicking the install button simply does not work. In situations like this we need to install the package and it's dependencies via terminal. Ubuntu Software Center is not working for third party software packages. How to Install dot deb packages using dpkg: Suppose we have our .deb package located on Desktop. $ cd ~/Desktop $ sudo dpkg -i package_name.deb $ sudo apt-get -f install Notes: 1. dpkg - Debian Package Management System. This command install the p...
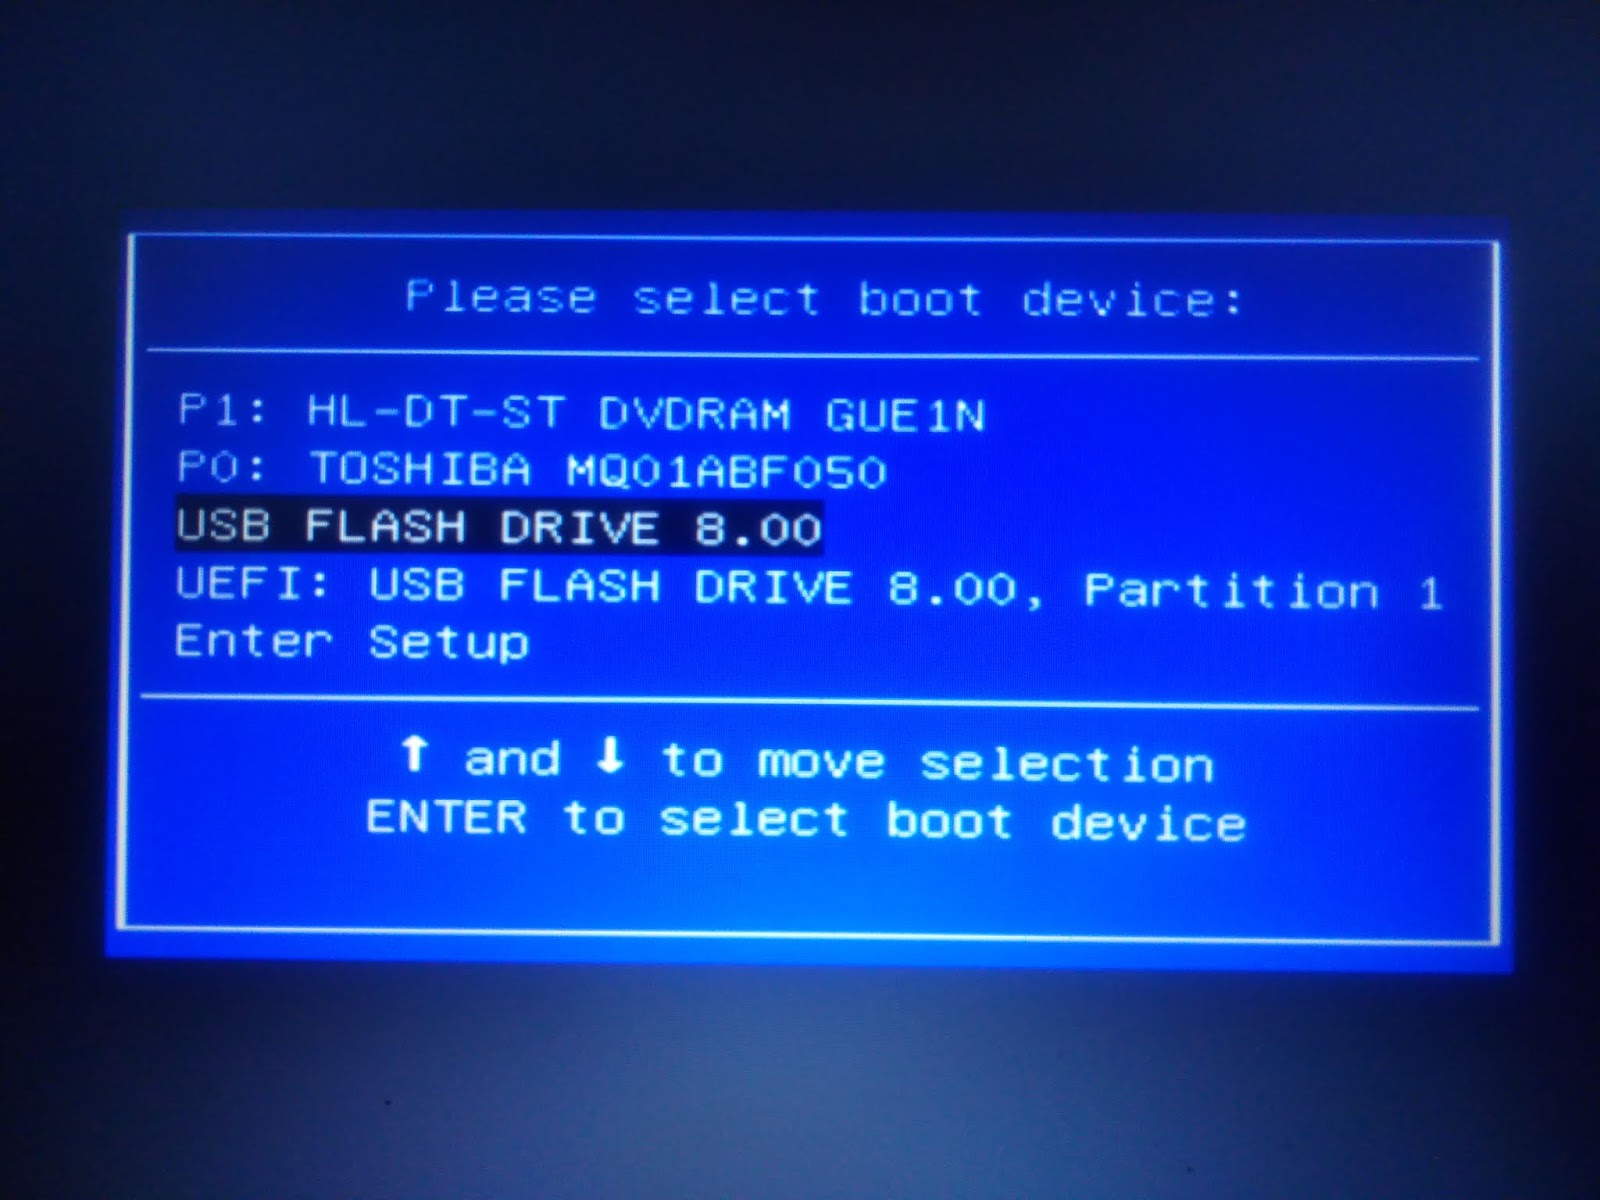
Most of the time this problem occurs when people try to install Ubuntu 18.04 on a MBR partitioned disk and face grub menu installation failure. Everyone makes mistake by thinking that Calling 'apt-install grub-efi-amd64-signed' failed - is a bug. But I think this is not a bug. This is just an user fault. The solution of this problem relies on two basic steps. At first you need to create your Ubuntu 18.04 bootable flash drive correctly. And secondly, you need to bootup you machine using the bootable flash drive in the correct mode (UEFI/CSM/Legacy BIOS). When your system is MBR Partitioned with legacy BIOS and you try to install Ubuntu in UEFI mode, failure of the installation process is natural. The reason behind this complexity is the multiboot system of the Ubuntu iso file. The iso file is created for both the MBR Partitioned Legacy mode devices and GPT devices with EFI Firmware. Correct process of creating bootable ubuntu 18.04 flash drive Bootup your machine...
Ubuntu iso file comes in multiboot mode these days. So, it is important to select the right mode to boot the system. Otherwise installation process will fail. This is specially true if your system is a dual boot one and you have an MBR partitioned disk and you need to bootup your machine in legacy bios mode. So, how to boot in the mode you need? Well, funny. This is not hard at all. Just keep pressing esc key while booting up your machine. You will see a Window with select boot device option like the above image. Importantly, you can see that your one bootable USB device shows two options: One is "USB Flash Drive 8.00" The another is "UEFI: USB Flash Drive 8.00..." Select the first option if your system is in Legacy BIOS mode with MBR partition. This scenario is common with dual boot systems that has Windows 10 installed. If you examine your hard disk partitions using whatever partition manager you use, you probably will find a "System Reser...
Comments
Post a Comment